Getting the Lofoten aurora onto your camera
You do not need expensive gear to bring home a decent northern lights picture from Lofoten, but you do need a steady camera and a few settings that differ from daytime habits. This guide covers phones and cameras, five settings to start from, the foregrounds the islands offer, and which tours lend equipment or send photos afterwards.
Phone night mode or a camera on a tripod
Recent phones photograph the northern lights far better than they once did. Night mode keeps the shutter open for several seconds and stacks the frames, which turns a faint grey arc into the green you see on postcards.
The weak point is movement. Rest the phone on a rock or a small phone tripod, and set a short timer so pressing the button does not shake the shot.
A camera with manual controls on a proper tripod still wins on a strong night. It copes with fast-moving aurora by using shorter exposures, and its files keep more detail in the dark mountains.
Five settings to start from
These are starting points for a camera, not a formula. The aurora's brightness changes minute by minute, so take a test frame and adjust from what the screen shows.
- The widest lens you own, so the sky and the mountains fit in one frame
- Manual focus at infinity, set on a bright star or a distant light and then left alone, since autofocus hunts in the dark
- ISO 1600–3200, lower on a bright display and higher when the band is faint
- Exposures of 2–10 seconds, shorter when the lights move fast so the curtains keep their shape
- The widest aperture your lens offers, such as f/2.8 or f/4, to collect as much light as possible
Turn off image stabilization when the camera sits on a tripod, and shoot raw files if your camera allows it. White balance can then be fixed later, which helps because auto settings often give the sky an odd color.
The moon changes these numbers. A full moon brightens the landscape, so you may need a lower ISO or a shorter exposure, and our guide to the aurora months explains how moonlight affects faint displays.
Foregrounds that make a Lofoten picture
A sky full of green light looks like any other aurora photo until something solid sits under it. Lofoten is generous here, with jagged peaks rising straight from the sea and pale beaches facing north.
Fishing villages add a human scale. Red rorbuer on stilts and the wooden racks used to dry cod both turn up in guests' pictures, often with the aurora mirrored in a calm harbor.
One Lofoten Insight reviewer saw the lights over Henningsvær with the mountains and the harbor as a backdrop. Our guide to the places the tours visit describes the stops the drivers use most.
Reflections need calm, open water before the lakes freeze in autumn or after they thaw in spring. In deep winter, snow on the peaks gives the frame a bright edge instead.
What the guides do for your photos
Every road tour on this site has a guide who knows how to photograph the aurora, and that changes how much you need to bring. The differences lie in what they lend and what they send afterwards.
Lofoten Insight's guides are professional photographers who take souvenir pictures of the group and send them within 48 hours, usually sooner. On the Ultimate Aurora Hunt, from ~$194, you can concentrate on watching and leave the portraits to them.
Raido Adventures, from ~$177, lends a tripod and a camera for the night and sends photos by link within 72 hours, often faster. That suits travelers who own nothing beyond a phone and still want sharp frames.
Reviews of RAW Lofoten say its guides help with settings on anything from a phone to a DSLR and take portraits on request. Lofoten Aktiv, from ~$199, asks guests to bring their own camera and tripod, and some reviews mention guides sending photos afterwards.
Photos taken for you by a photographer guide
Lofoten Insight's 4-hour hunt meets at Svinøya Rorbuer, costs from ~$194 (often shown lower) and scores 4.4 from 280+ reviews on GetYourGuide. Souvenir photos arrive within 48 hours. The group can reach 32 on GetYourGuide, and children under 12 cannot join.
A bigger group can mean less one-to-one help with your own settings. If coaching on your camera matters most, the guide to group sizes compares the seven-seat van with the larger tours.
Batteries and cold fingers
Cold drains batteries quickly. Carry a spare in an inside pocket close to your body and swap it in when the first one fades, then let the tired one warm back up.
Bringing a cold camera into a warm van fogs the lens and can put moisture inside the body. Some photographers keep the camera in a closed bag so it warms slowly.
Thin liner gloves let you work small buttons without baring your hands in the wind. The clothing guide covers the rest of the kit, from boots to the two-glove system.
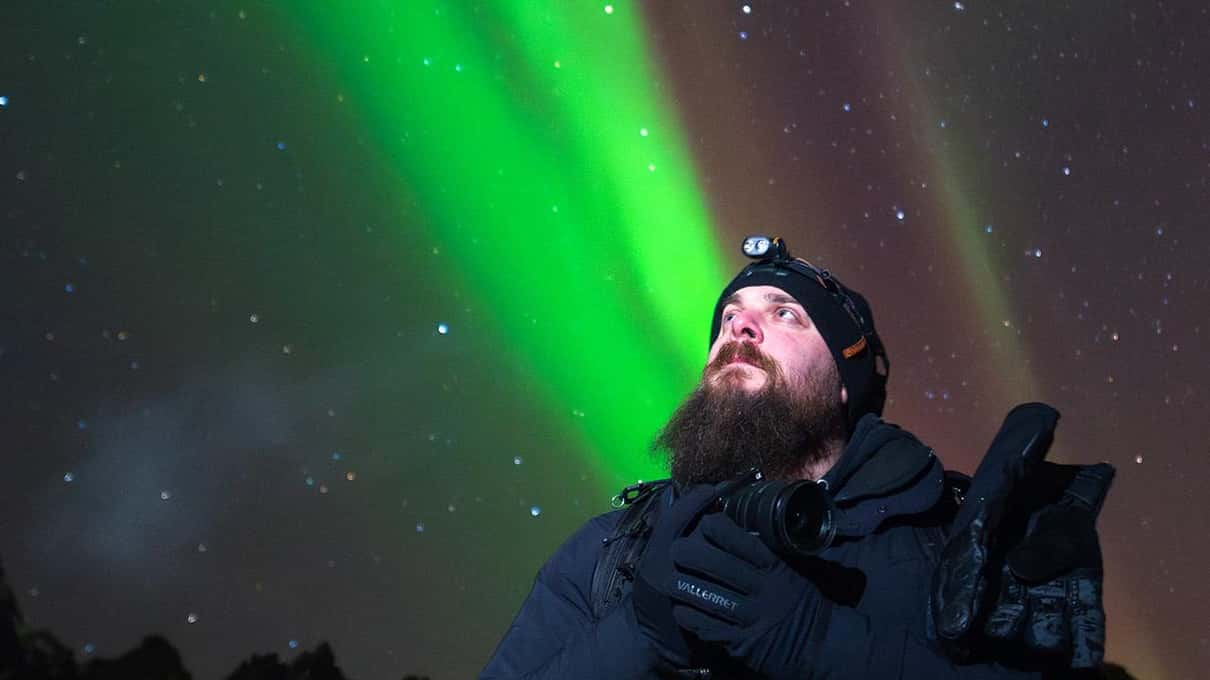
A headlamp with a red light mode helps you find buttons without ruining your night vision. Raido includes a headlamp, and on the other tours it is a small thing to pack.
Manners at a shared viewpoint
Several groups may share the same beach or roadside spot on a clear night. A white torch beam swung across the scene can spoil a 10-second exposure for everyone with a tripod.
Use the red light, point it at the ground and switch it off when you are not walking. Ask before stepping in front of someone's camera, since a figure in the frame is not always welcome.
Why the cruise is harder for photographs
Brim Explorer's boat keeps moving during the evening, and a reviewer says long exposures came out blurred. Anything longer than a second or two smears the stars and the shoreline.
Phones in night mode suffer the same way, though a bright aurora with a short exposure can still work. The cruise or minibus comparison explains why the road tours suit tripods better when photographs are the main goal.
Cloud is the other enemy of any photo plan. The guide to cloudy nights in Svolvær covers what happens when the sky closes and how to leave room for a second try.